Many people are finding themselves with extra time on their hands. You know what they say about idle hands, so lets keep them busy! A few years ago we had cat bunk beds as one of the raffle prizes at our Microchip Day. The bunk beds were made in my garage and it was a learning experience for me as I had never stained anything before. I had the forethought to take some pictures as I went through the process of putting the bed together. They were really easy to make. Heck, if I could do it, you can do it! The most time consuming part was sanding and staining, and even that didn’t take very long.
My cats loved theirs. Nigel would sleep on the bottom, Pez on top. Sometimes they’d both be found sleeping on the top, curled together in their perfect yin yang. Sure, you could probably buy something similar, pre made. It would be easier, stink less, and wouldn’t be as messy, but where’s the fun in that?
We’d love to see your completed beds! Tag us on Instagram or Facebook @martensvilleveterinaryhospital
Happy building!
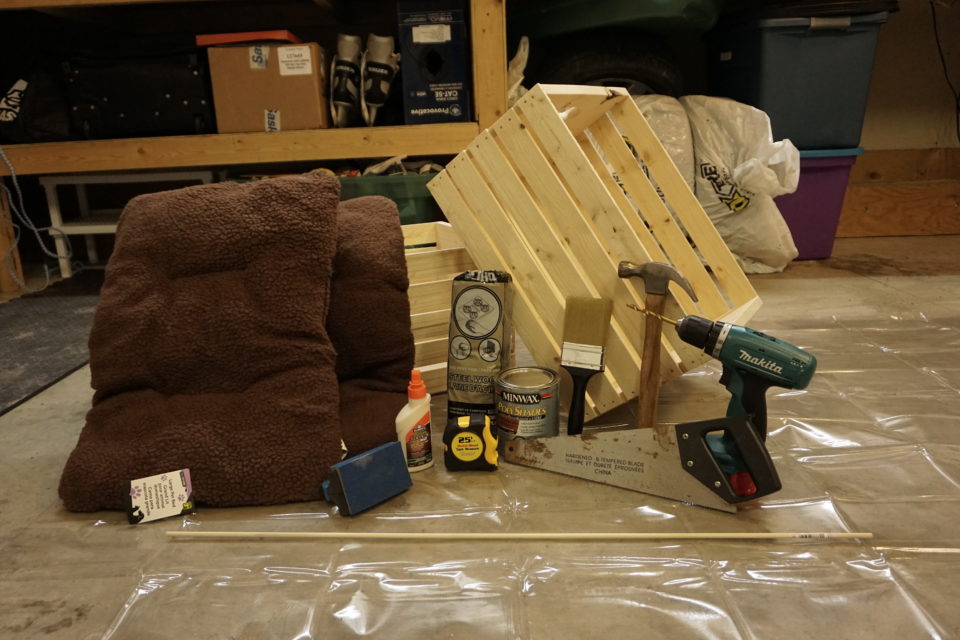
Step 1: Supplies
2 Crates (I got mine from Peavey Mart for $12.99 each)
2 Cushions (Dollarama has the ones shown for $3.50 each!)
Stain (I used Minwax PolyShades in Antique Walnut)
Stain brush
1/4″ wood dowel
Sand paper
Steel wool (I ended up not using this since I used a stain plus polyurethane mix, but it took me until that step to realize I wouldn’t need it. I think sand paper would have worked just as well if I had needed it.)
Wood glue
Drill with 1/4″ bit
Hammer
Saw (Or wire cutters)
Measuring tape (Or nails and a wire cutter)
Drop cloth (I used a table cloth protector from Dollarama)
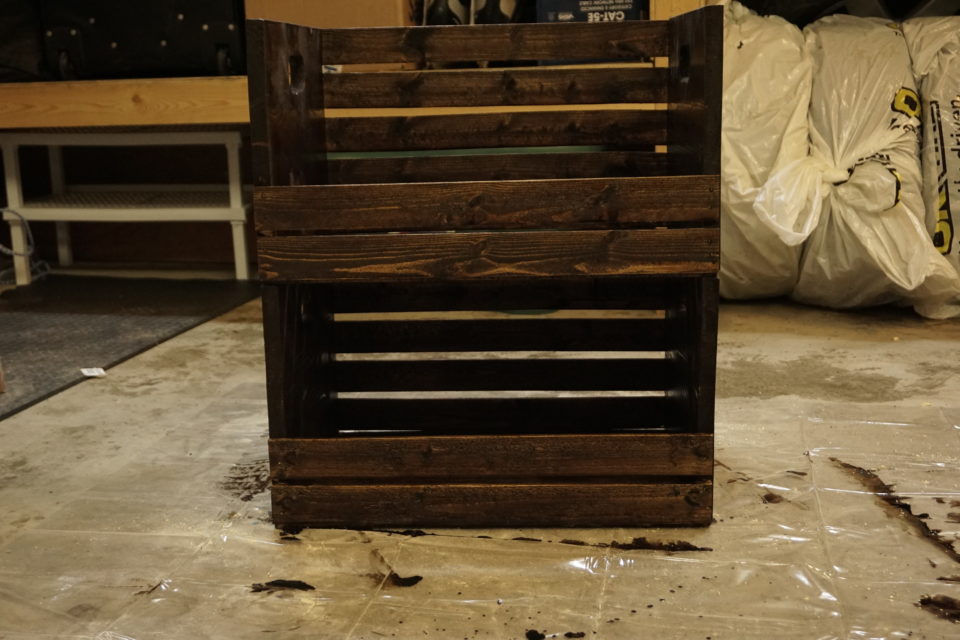
Step 2: Remove top boards
Using your hammer, remove the top 3 boards. The crates I used were from Peavey Mart and the boards were attached with long staples.
The first 4 boards came out easily but the last 2 broke at the staple. I used a pair of pliers to remove the staples.
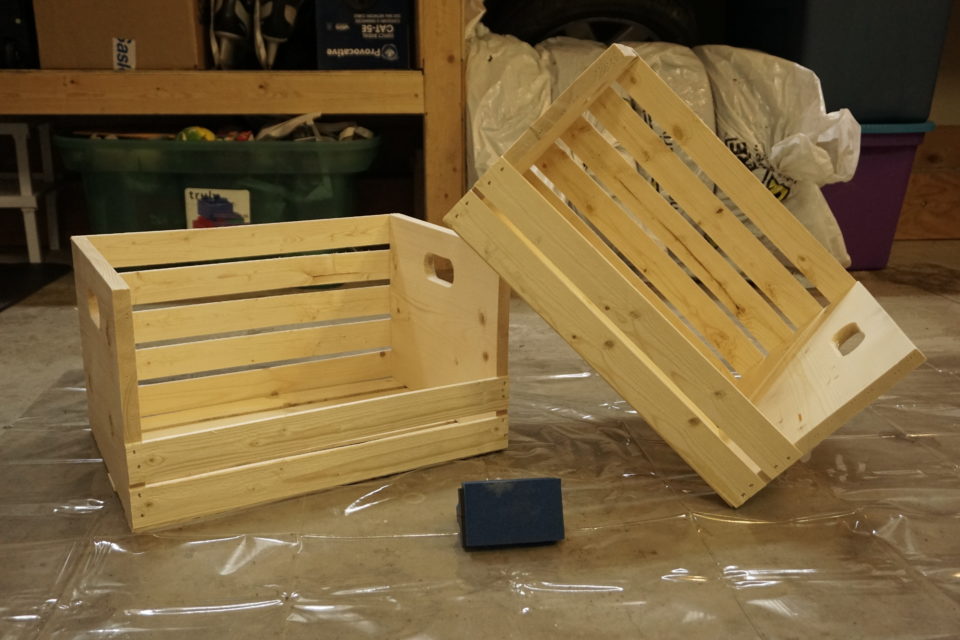
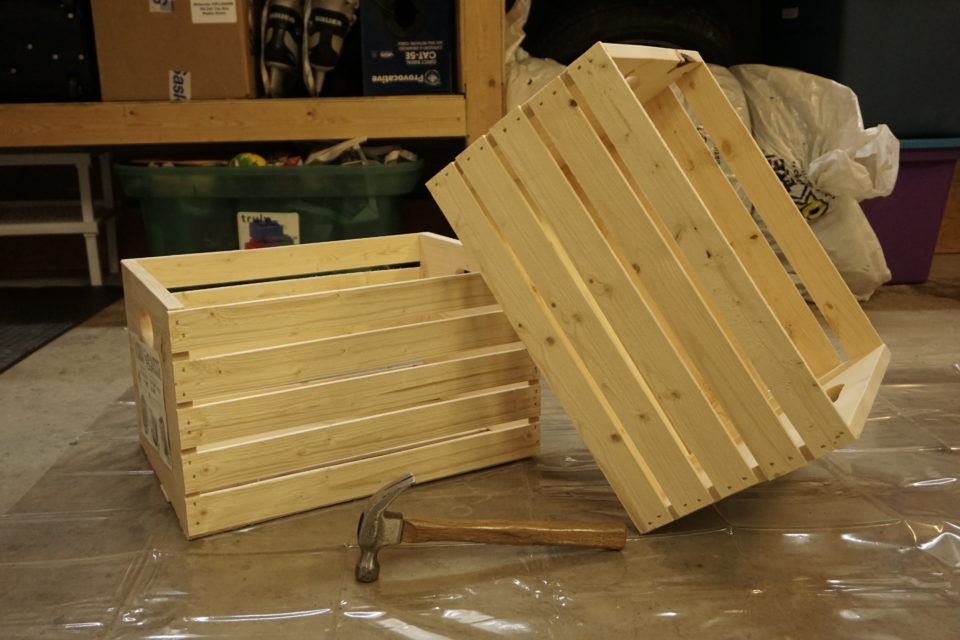
Step 3: Sand
The crates are quite rough when you buy them. Sand them down, moving with the grain of the wood, so there are no splinters or rough spots.
This is a good time to decide if one crate would work better on the bottom versus the top. One of mine had a knot right where I would want to put a dowel, that one automatically became the top crate.
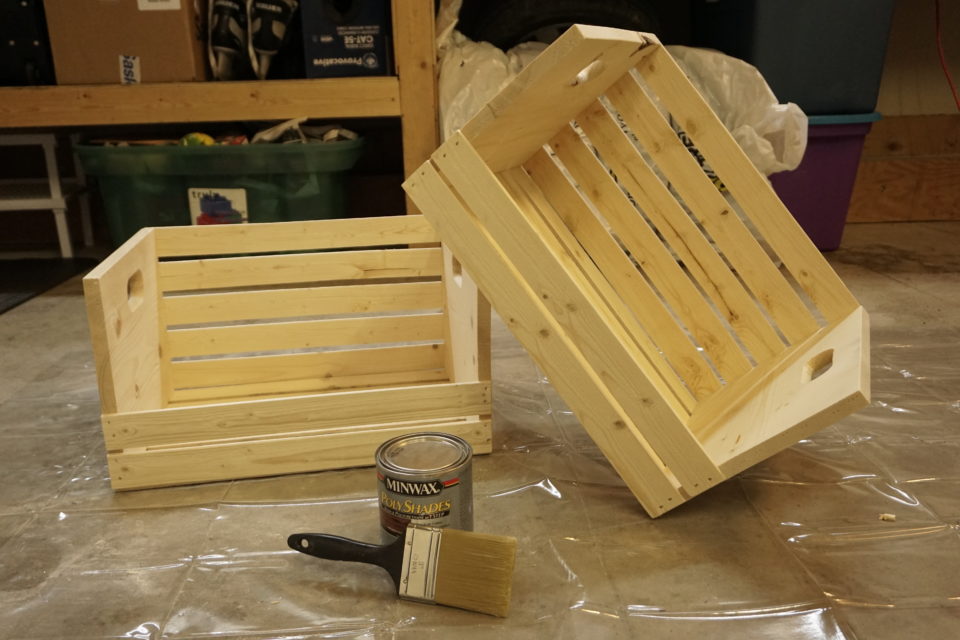
Step 4: Stain
This was my first time using stain. I decided to buy Minwax PolyShades because it had the stain and finish all in one, and that seemed easy to me. It was quite easy to apply.
It took longer to dry than the can said it would but my garage was a bit below the ideal temperature. I also learned that if you don’t have mineral spirits, olive oil will remove stain!
Once your stain is dry, move onto the next step.
*I will say that having done some staining after this, this particular stain stunk for a long time after the beds were complete. I haven’t experienced the same level as smell when working with the stain and polyurethane separately.
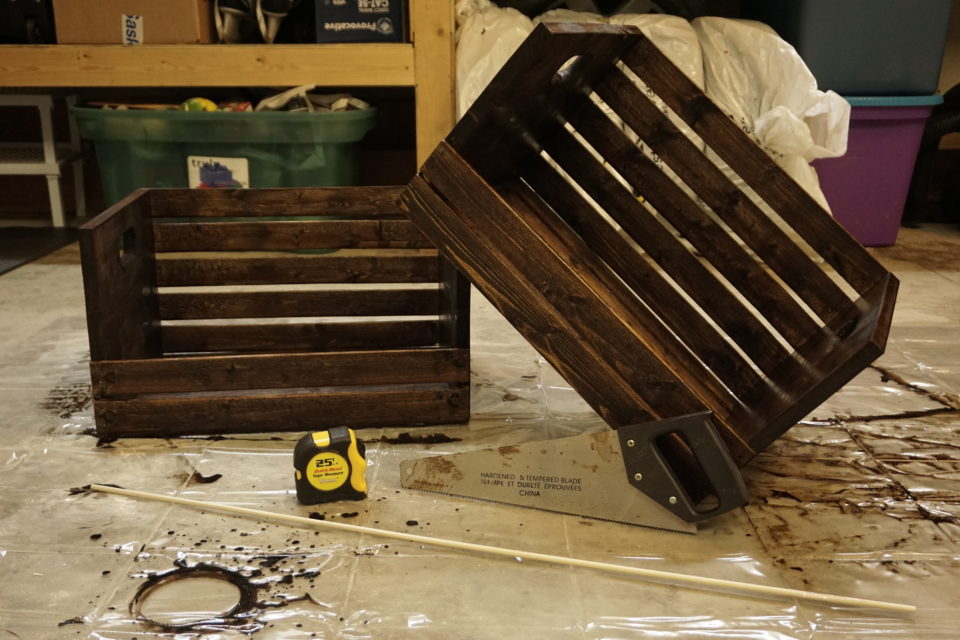
Step 5: Cutting the dowels
I cut my dowel to be 2″ long. I started by using a saw but ended using the wire cutter. Wire cutter was a lot easier and faster!
Look at my stain mess! That is why the drop cloth is a good idea!
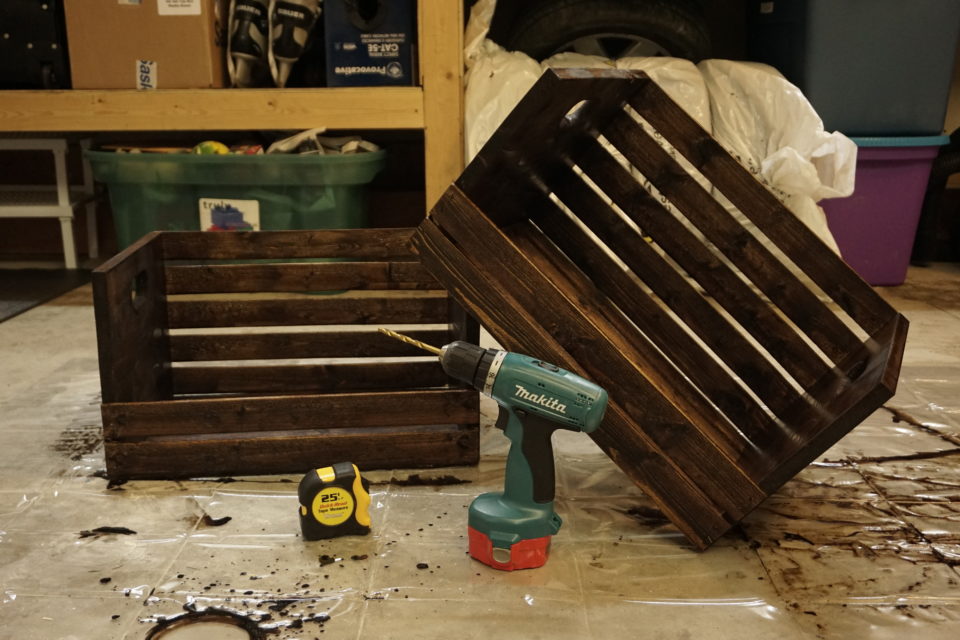
Step 6: Drill holes for the dowels
I started this step out using the measuring tape; this was when my husband walked into the garage. His idea was to hammer a nail into the bottom corners of the crate, right where I would like my dowels to go.
Once the nail was about half way in, we cut the nail head off using a wire cutter. We then lined up the crate over what would be the bottom one and once I was happy with the placement, we pushed down.
This left small indents in the bottom crate and was a much easier way to ensure my dowel holes would line up! We kind of guessed at depth but we were shooting for 1″.
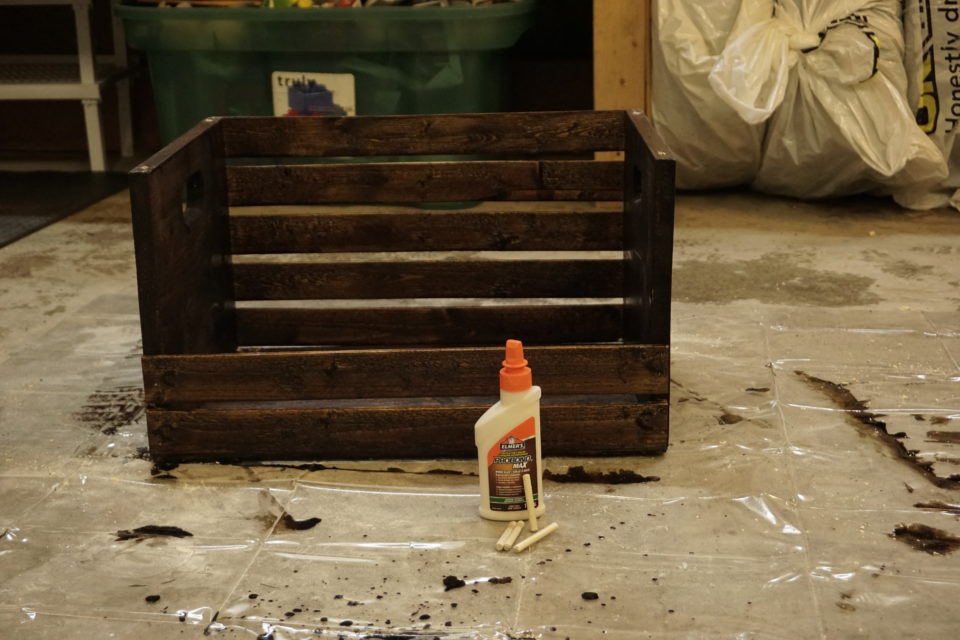
Step 7: Glue in the dowels
The gluing is really an optional step. Check to make sure your dowel holes line up by placing the dowels in the holes and attaching the top crate.
If everything matches up, then remove the top crate and dowels. Place a small amount of glue inside the dowel holes that were made in the bottom crate and reinsert the dowels.
Place a small amount of glue in the top crates dowel holes and attach the top crate to the bottom. I skipped the gluing on mine as the dowels alone held it together well.
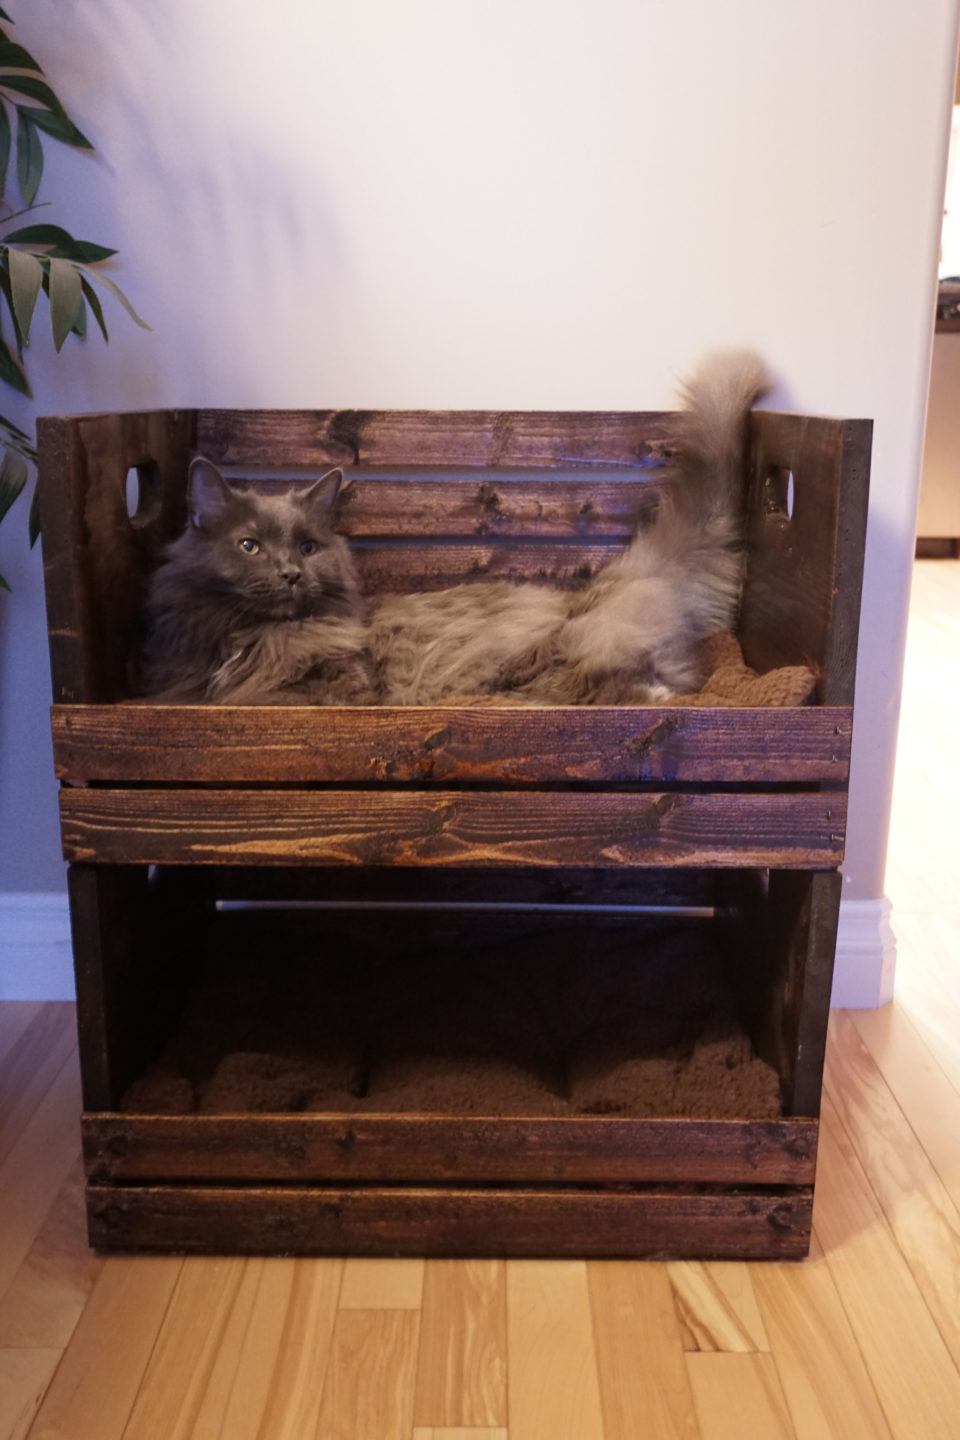
Congratulations! Just add your cushions and you’re done!
You have made a cat bunk bed out of crates!